Interactive Guide
Interactive castle map
to reveal more
Tap a dot to see info
Guide based on information gathered by the Berkhamsted Local History and Museum Society
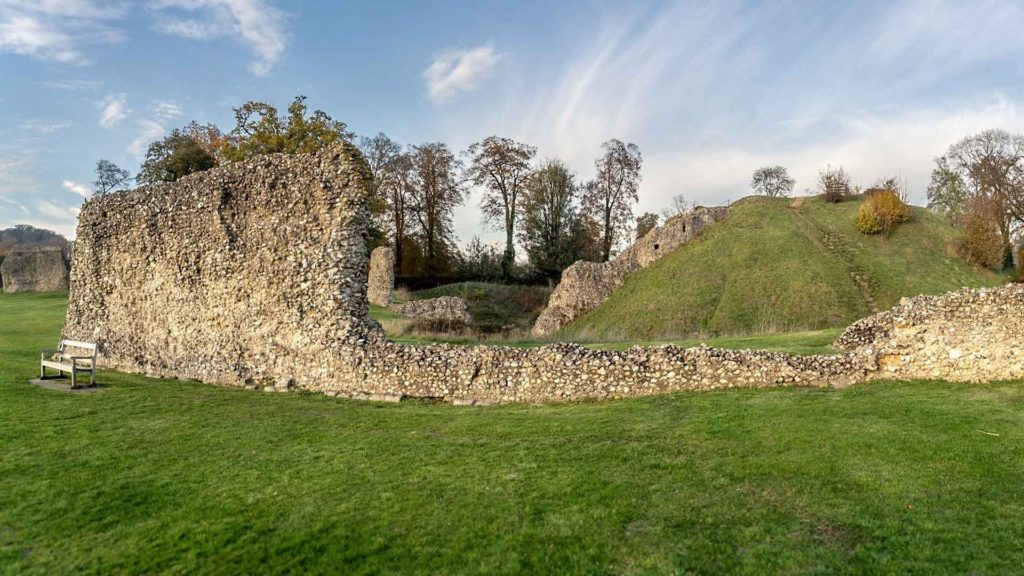 The Inner Ward (also called the Inner Bailey) was the strongly fortified enclosure at the heart of the castle. It was protected by an inner defensive wall and a fortified gate. In medieval times, the living quarters for the royals and nobility would have located here for extra protection. If the castle was besieged by enemies, the castle population could also retreat up to the keep as a last line of defence.
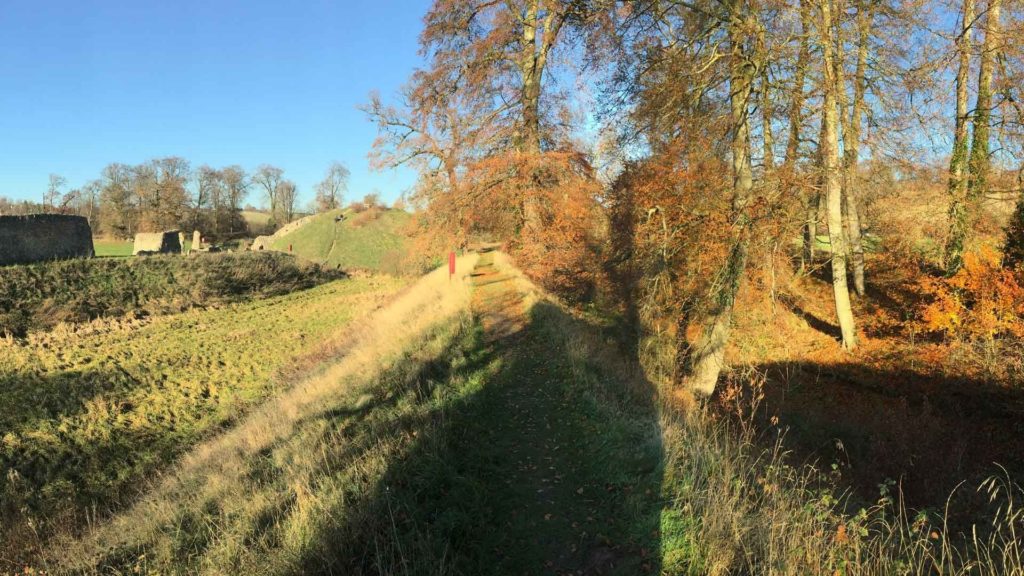
Berkhamsted Castle is said to be unique for a motte and bailey castle in having a double moat. The outer defensive wall once enclosed the castle along a raised bank between the two moats. Today, visitors can walk along the path on top of the bank and this is a good place to see the concentric moats.
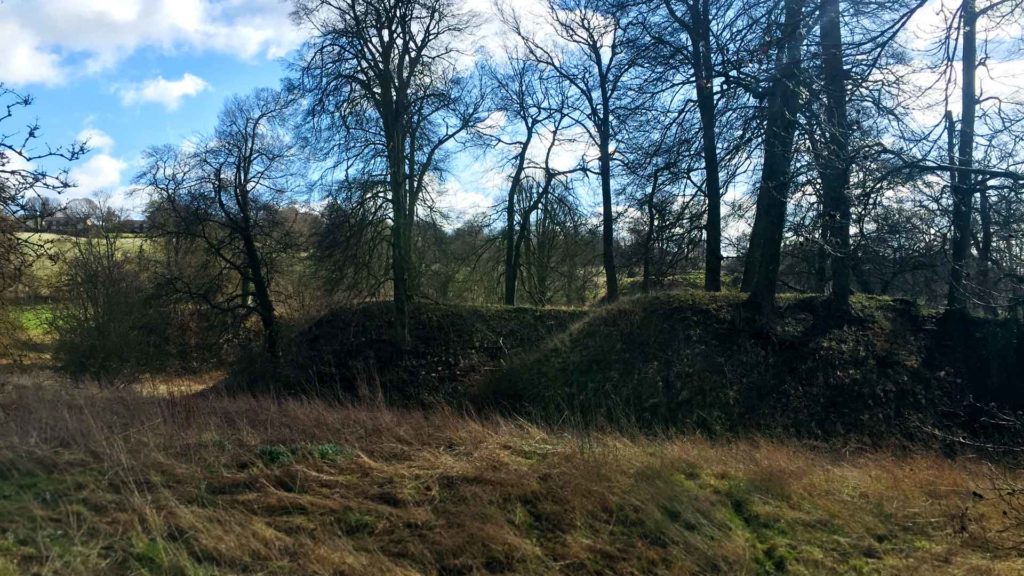
On the North and East sides of the castle are eight large earth mounds. It has been claimed that these earthworks were constructed by the forces of the Dauphin of France to act as platforms for mangonels (catapults) when they besieged the castle in 1216. This seems unlikely considering the short time that the attackers were in the area. It is more likely that it was King John who had these earthworks constructed and a second ditch dug when he had the castle defences strengthened in 1215-16 in view of the pending threat from the Dauphin and the English barons. John also had trees cut down to make palisade fencing round these bastions
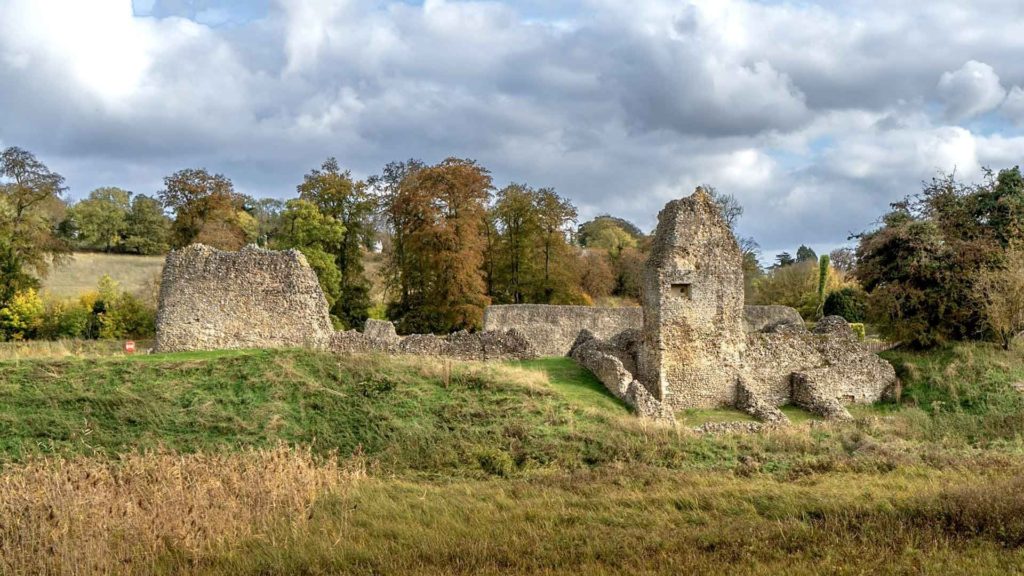 At the end of the western curtain wall is a tall piece of flint wall. This is part of the remains of the palace tower. The palace straddled the inner bank with part of it outside the curtain wall. Adjacent to the palace are the rectangular remains of a small chapel.
Discover more:
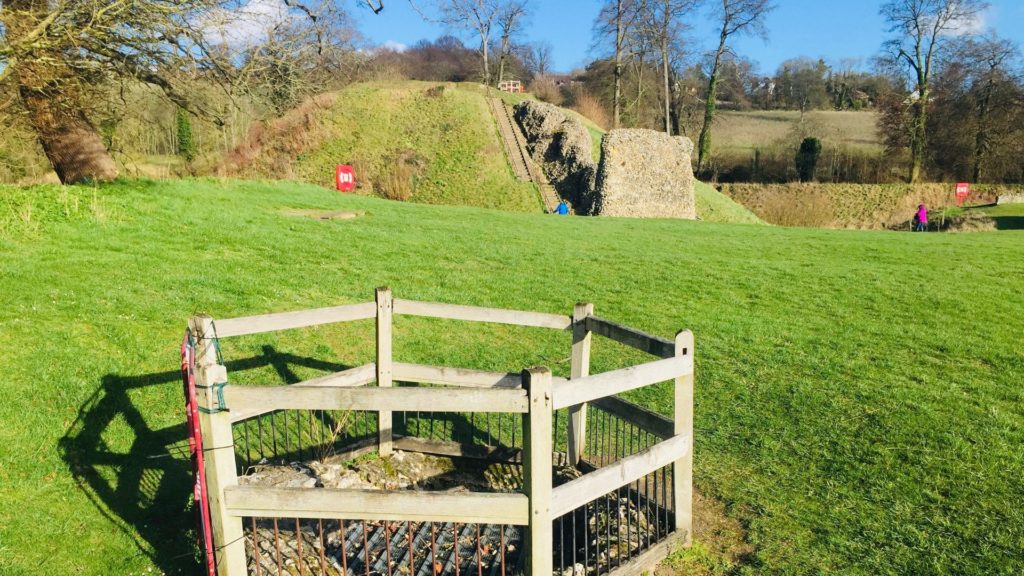
In the inner bailey, a small circular fence cordons off the main well of the castle. This well served the everyday needs of the castle inhabitants. A second well existed in the keep to serve the garrison if it had to withdraw there in times of siege.
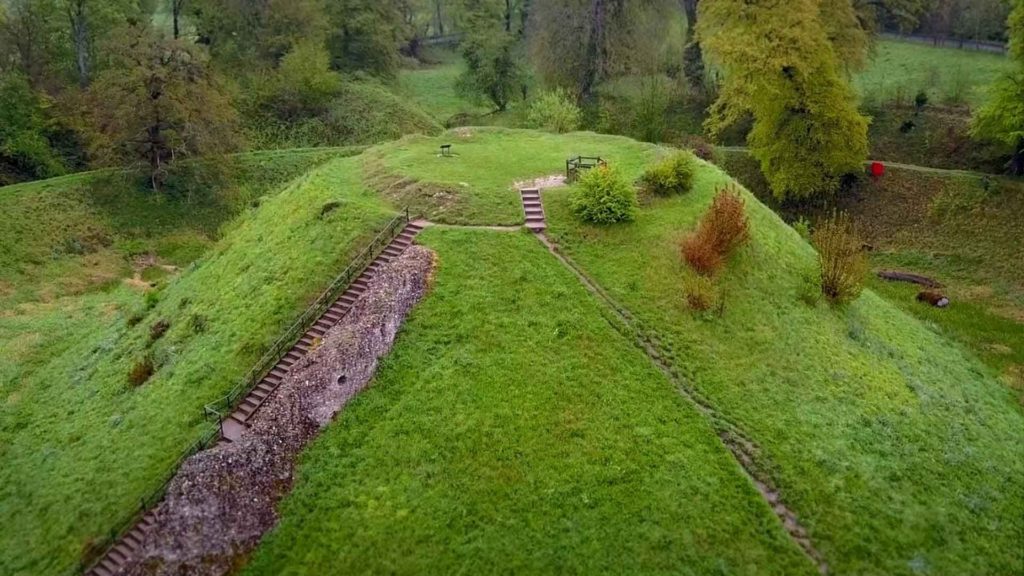 The motte is the large earth mound inside the inner defences of the castle. At the top of the motte is where the keep once stood, a fortified tower which was used as a refuge of last resort if the castle fell to enemy invaders. A well provided drinking water during a siege. Today there is only an outline of the foundations of the shell keep, and the well can still be seen. Visitors can climb the steps to reach the top to get a good view of the castle layout.
Discover more:
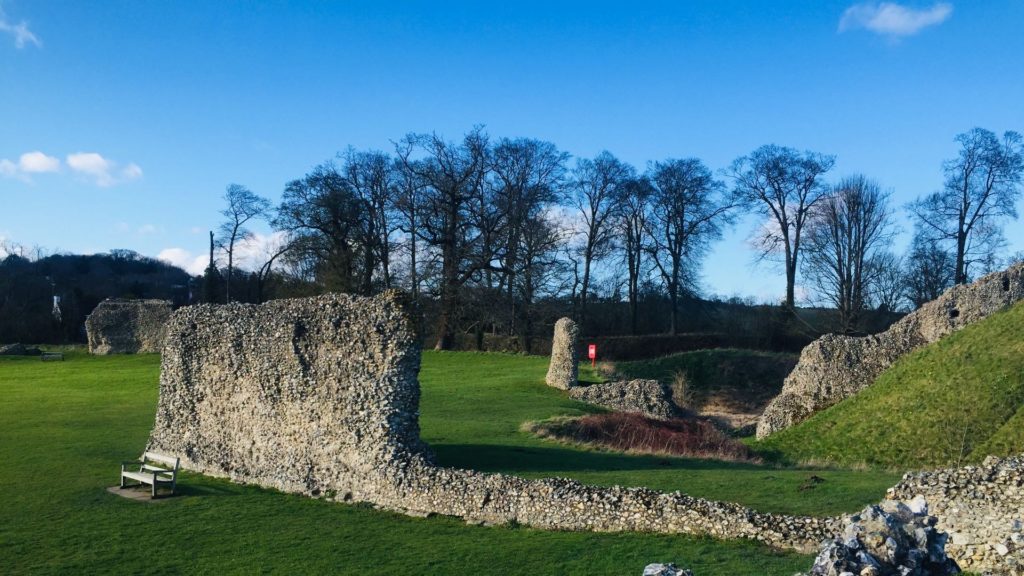
Just beyond the hearths a wall runs off at right angles from the East Wall. This was the dividing wall between the inner and outer baileys. At the base of the wall is part of a layer of ashlar. This was often used to line flint walls. However, it is unlikely that all of the castle walls were lined with ashlar - when the ruined castle walls were re-used to construct Berkhamsted Place in the 1580s, ashlar was used very sparingly, which suggests that it was not plentifully available here.
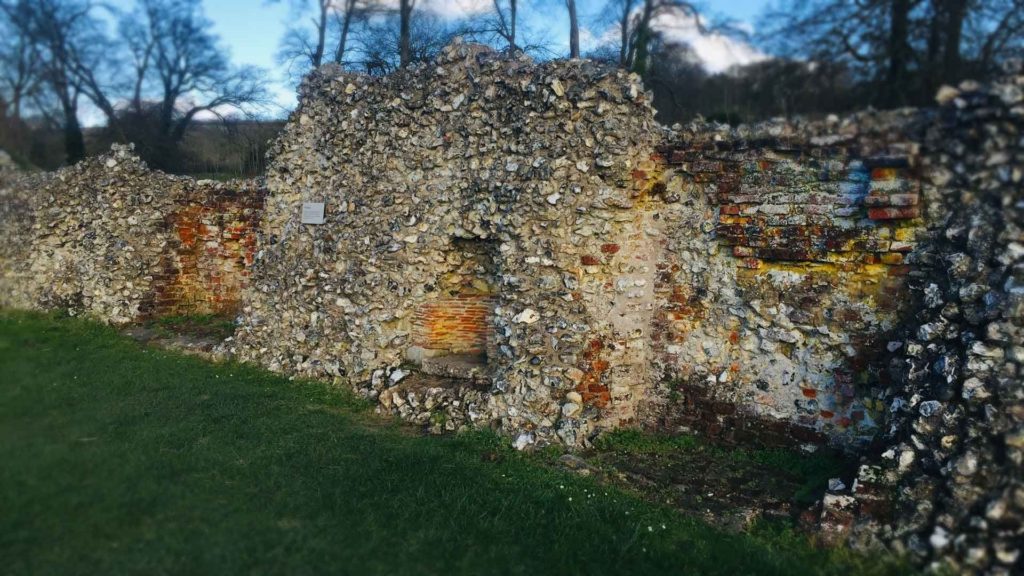
Further on are three more hearths which mark the site of the kitchens.
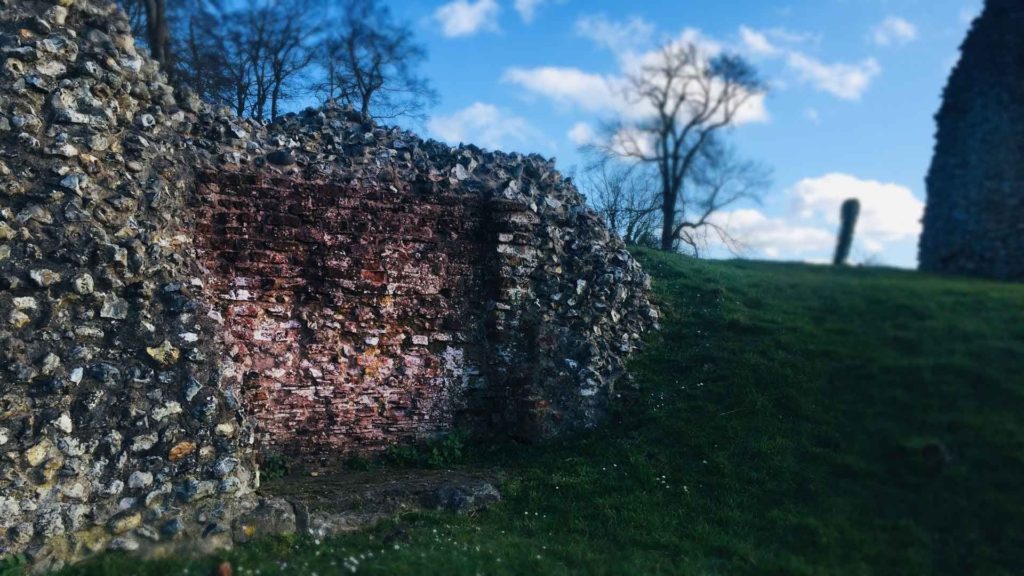 The remains of a brick-lined hearth which was probably part of the barracks block.
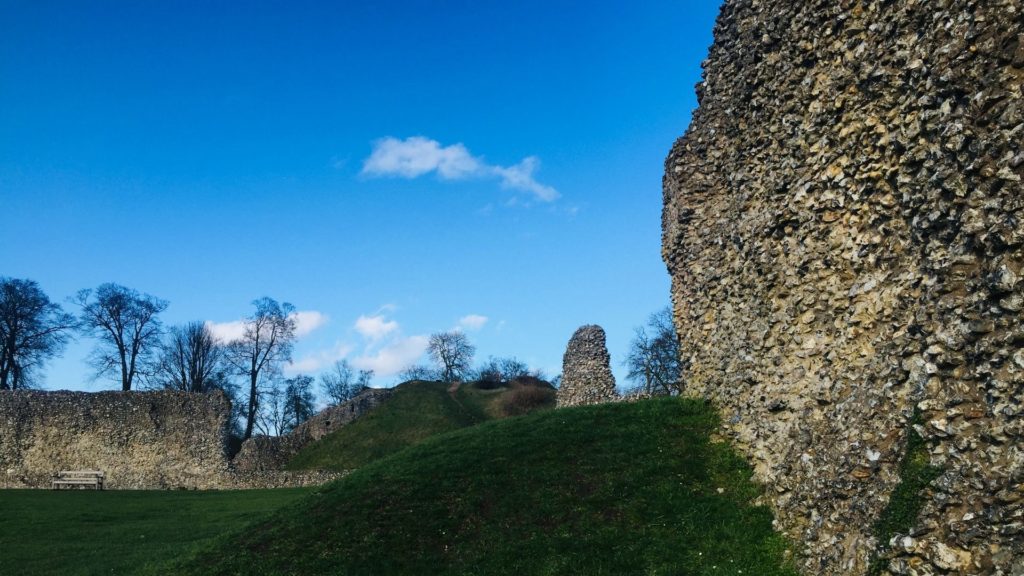 A small mound and a gap in the curtain wall marks the site of another semicircular tower. Because they jutted out from the walls these towers allowed defenders to fire on those attacking the walls.
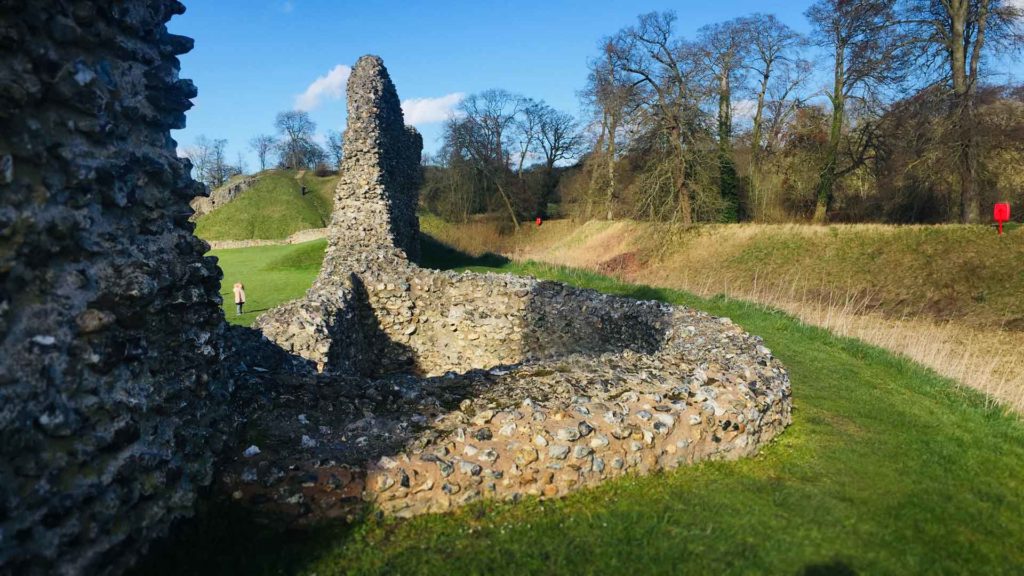 Near the barbican gateway gap is one of the semicircular towers. This is the best preserved of the three towers and excavation in the 1960s revealed the actual dimensions of these defences.
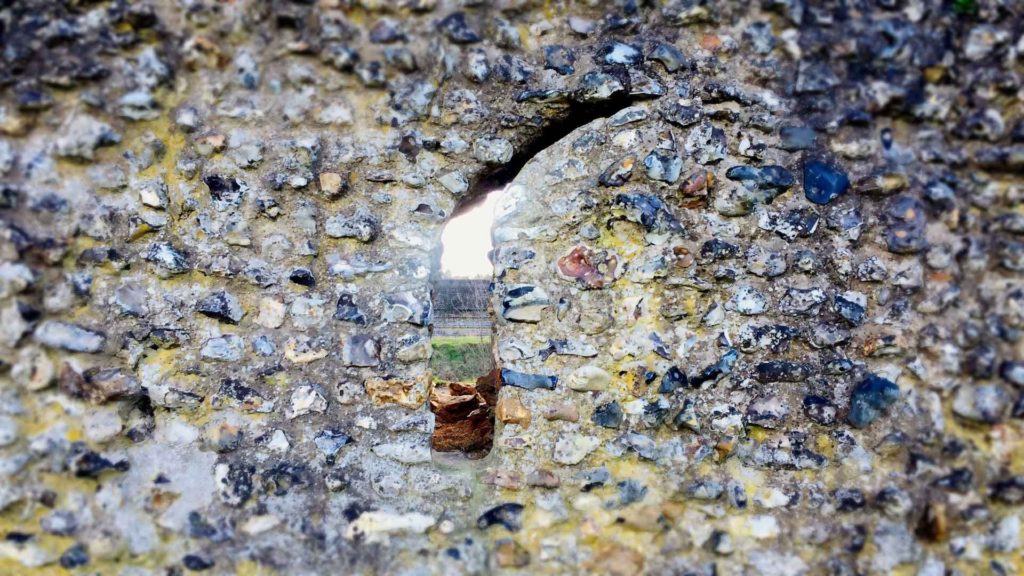 Also towards the end of this wall is a slit showing the filled in position of the south postern gateway, or sallyport. These openings usually consisted of a diagonal cut in the wall which was protected by an iron gate, and through which the defenders could emerge unexpectedly and attack the enemy during a siege.
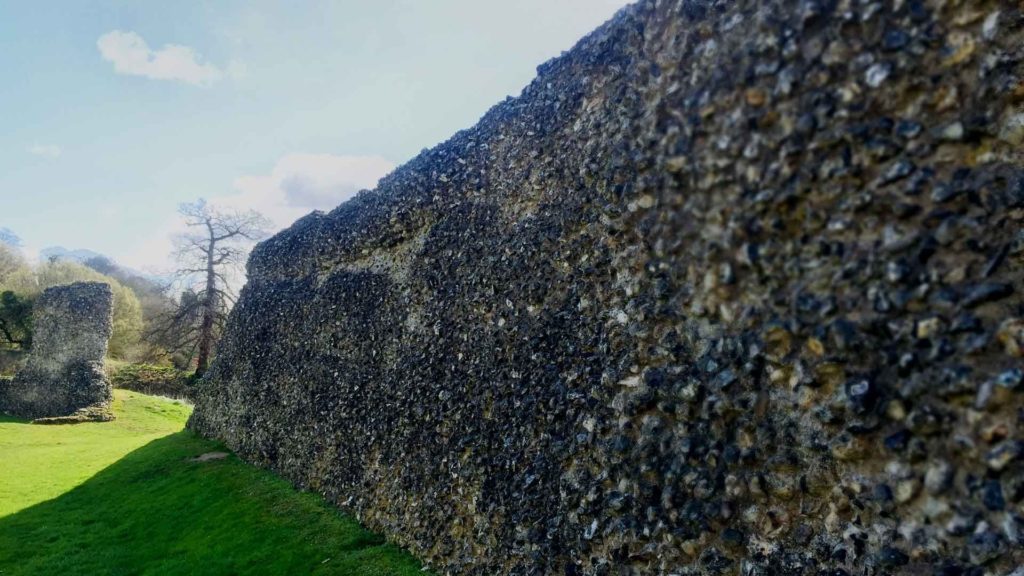 At the top of the curtain wall, the remains of the sentry's walkway can just be seen. At the end of this length of wall is the barbican gateway gap.
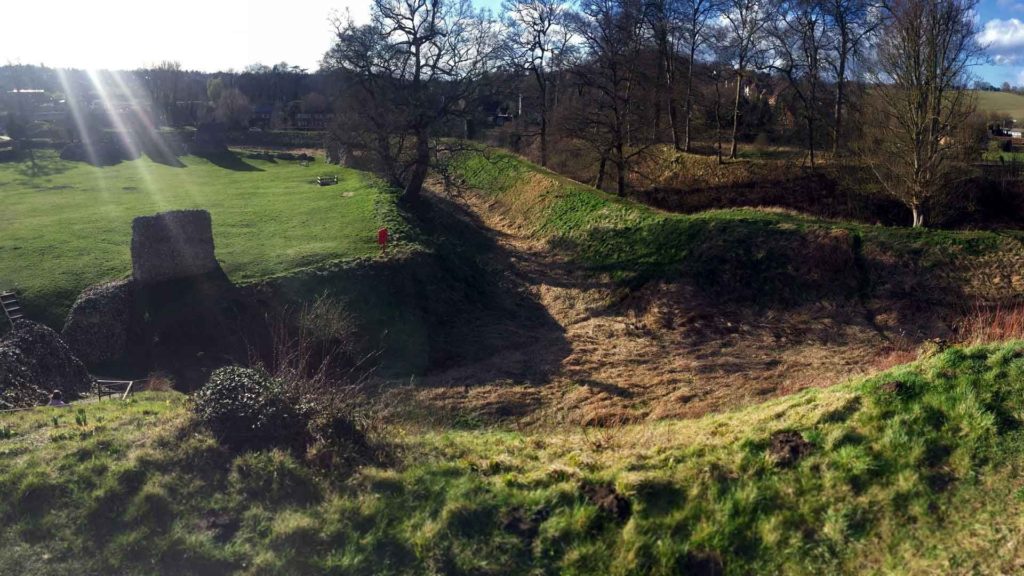 This is the site of the Derne Gate (back gate) and accommodated the two bridges that spanned the inner and outer ditches. This exit was more convenient for hunting parties making for the great park and the Common beyond. On the outer bank is a small patch of flints which may have been part of the foundations for the outer bridge
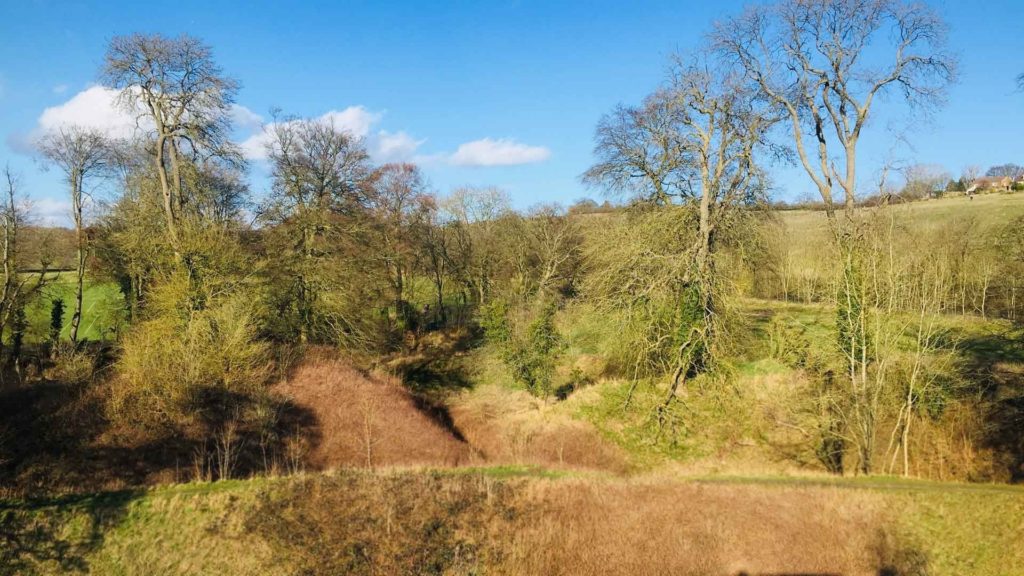 At this gap in the outer bank, it has been suggested that a sluice gate stood here, and when opened, would allow for flooding along the outer bank. But this seems unlikely because there was no retaining bank to hold this water and it would have been too shallow to be a serious obstacle to those attacking the bastions.
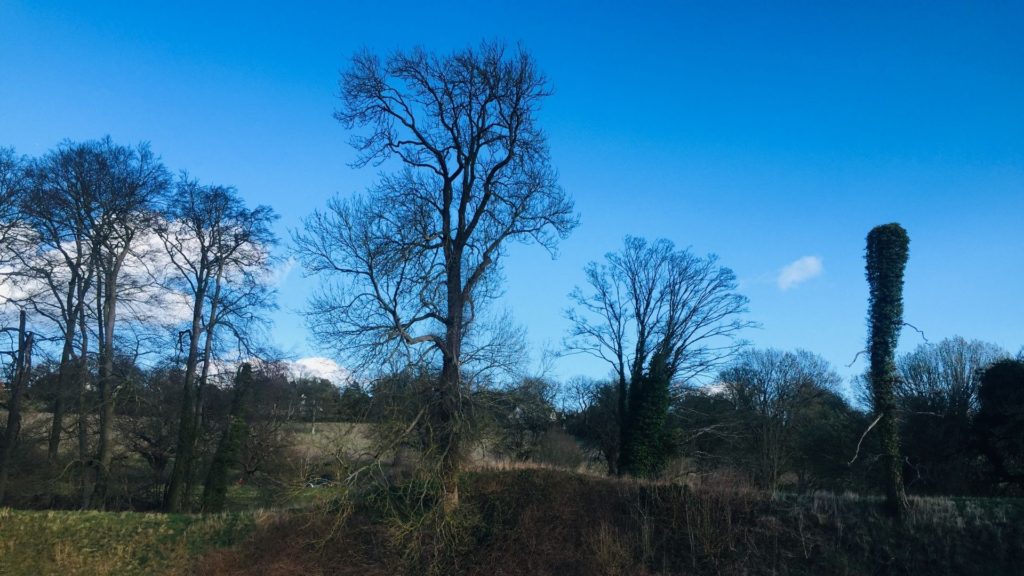 A mound in the bank is the remains of a cavalier. Cavaliers were mounds constructed within the castle to give the garrison a view of the surrounding country and an early warning of the approach of enemy forces
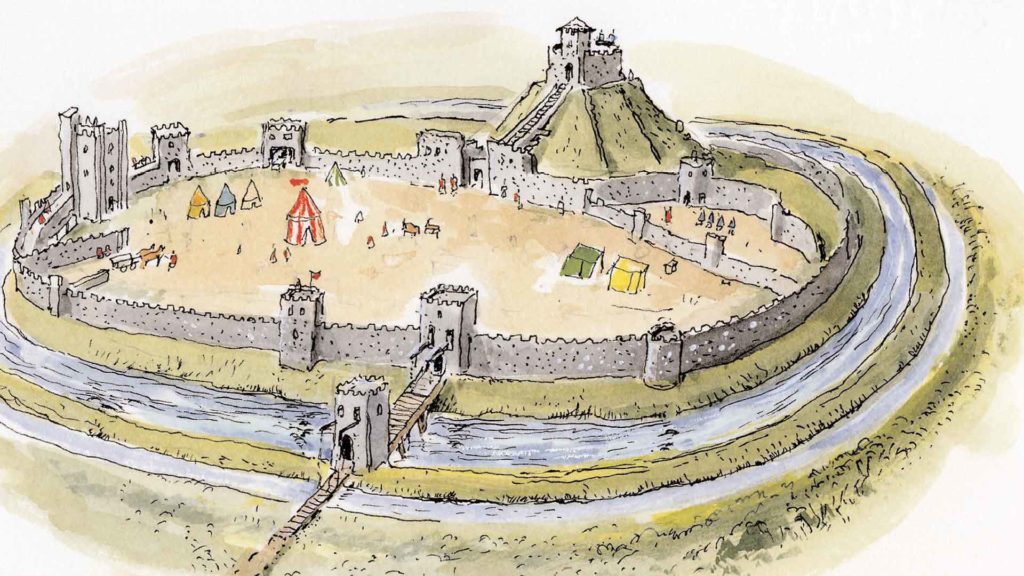 At a gap in the curtain wall (where a red lifebelt holder stands) was the site of the barbican gate. Once, a wooden bridge would have spanned the moat and allowed access to Castle Street and the road to London. A depression can be seen within the gap and the foundations of two short lengths of flint wall. The construction of the railway in 1837 resulted in the loss of the barbican gateway and part of the outer moat.
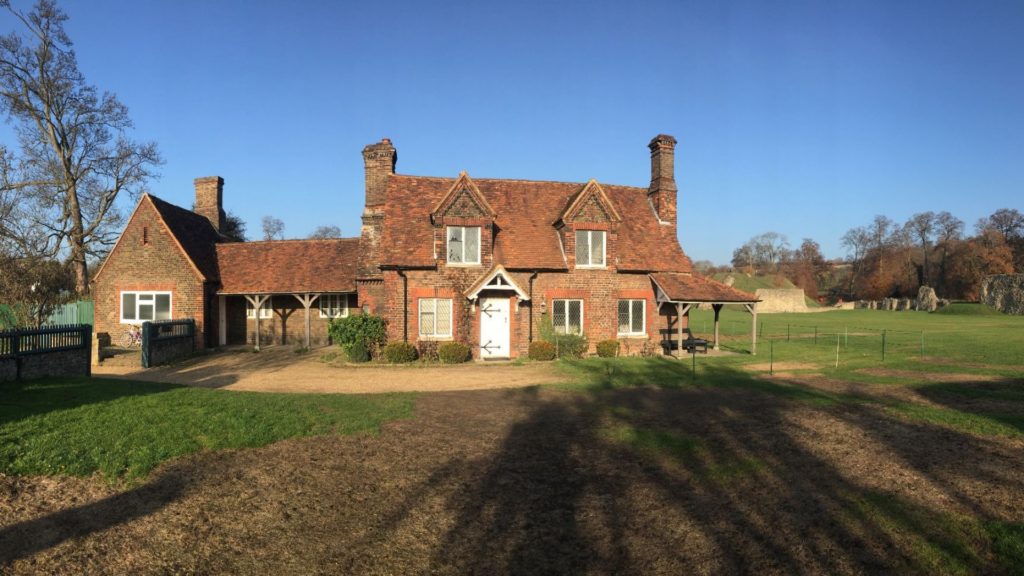
This small red brick cottage dates from the 19th century and serves as the keeper's house.
Discover More
External Links
Save Castle Fields
Berkhamsted Castle Trust
Join English Heritage
Plan Heritage Days Out
Discover the other historic sites near Berkhamsted Castle with the English Heritage mobile app:


 Home
Home


